Top 7 Tips for Safe & Easy Ceiling Board Removal: The Ultimate DIY Guide by SLD
Removing old Ceiling Boards may seem like a daunting task, but with the right tools, precautions, and technique, it’s absolutely manageable—even for DIYers. Whether you're renovating a home, upgrading commercial space, or replacing damaged panels, knowing how to safely remove Ceiling Boards is essential to prevent injury, structural damage, or mess.
At SLD, we not only specialize in manufacturing high-quality mineral fiber Ceiling Boards, but also believe in educating users on proper ceiling care and maintenance. This guide covers 7 essential steps to help you remove Ceiling Boards like a pro—safely, efficiently, and without a headache.
Why Remove Ceiling Boards?
There are several common reasons to remove old Ceiling Boards, such as:
Water damage or mold
Cracked, warped, or discolored boards
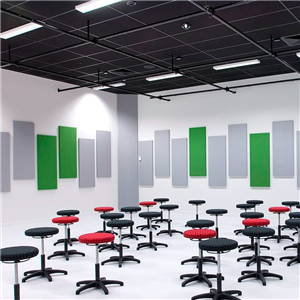
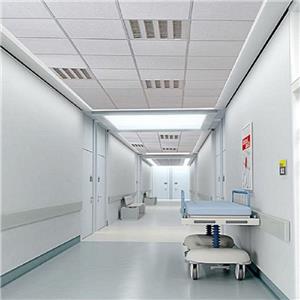
Upgrading to modern acoustic or fire-rated boards
Replacing outdated ceiling designs
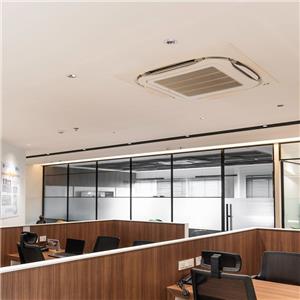
Accessing electrical or HVAC systems
No matter the reason, correct removal is critical to maintaining a clean and safe workspace.
Before You Begin: Gather These Tools
To make the removal process smooth and secure, prepare the following:
Safety goggles and dust mask
Gloves
Ladder or scaffold
Pry bar or flat-head screwdriver
Utility knife
Trash bags or disposal bins
Plastic sheeting (to protect furniture/flooring)
Also ensure proper lighting and ventilation in the room.
Step-by-Step Guide to Ceiling Board Removal
1. Turn Off Electrical Sources
If your ceiling has light fixtures or wires, turn off the circuit breaker to avoid electric shock. Remove any light fittings carefully.
2. Clear and Cover the Work Area
Move furniture out of the room if possible. Use plastic sheeting or drop cloths to cover floors and nearby items to catch dust and debris.
3. Inspect the Type of Ceiling Boards
Not all Ceiling Boards are created equal. Check whether they are:
Screwed into a frame
Glued to a substrate
Dropped into a T-grid system
Understanding the mounting method determines your removal strategy.
4. Score the Seams
Use a utility knife to gently cut along seams or paint lines to loosen the connection and avoid peeling surrounding paint or drywall.
5. Pry the Boards Loose
Use a flat-head screwdriver or pry bar to gently remove the Ceiling Boards from their base. Start from one corner and work your way across.
Safety Tip: Wear goggles and a dust mask. Some older boards may release particulate matter or contaminants.
6. Handle with Care
Support the board as you pull it down to prevent breakage. For mineral fiber Ceiling Boards, lift slowly to avoid chipping or crumbling.
7. Clean and Prepare the Surface
After removing all Ceiling Boards, remove any remaining adhesive, nails, or screws. Vacuum the area and prep the surface for new installation.
What to Do with Old Ceiling Boards?
Depending on the material and local regulations, consider:
Recycling – Some mineral fiber boards are recyclable.
Upcycling – Use panels for soundproofing small spaces.
Safe disposal – Follow your city’s construction waste policy.
SLD encourages environmentally responsible handling of ceiling materials.
When to Call a Professional
If your ceiling contains:
Asbestos (in older buildings)
Heavily damaged, sagging structures
Complex electrical or HVAC components
...it’s best to consult licensed professionals for removal.
Why SLD’s Ceiling Boards Are Easier to Work With
SLD’s mineral fiber Ceiling Boards are designed for easy installation and removal. With enhanced structural stability, mold resistance, and lightweight design, they can be replaced without damaging surrounding materials.
Whether you're installing or removing Ceiling Boards, SLD offers support at every stage.
Removing Ceiling Boards doesn’t have to be complicated or risky. With the right preparation, tools, and this step-by-step guide from SLD, even DIYers can take on the task confidently.
Looking to replace your old boards? Contact SLD today for modern, durable, and easy-to-install Ceiling Boards for every space.